Showing posts with label nail art. Show all posts

Thursday, January 12, 2017

Born Pretty Mat and Stamper

Press Sample

Hi ladies! 

I have a couple of products from Born Pretty Store that I received to review! But lets start with 2 items that I have been anticipating. We have their silicone mat, which is about 6x8 inches (Born Pretty Store also sells other different size silicone mats), and their metal clear stamper. 

Born Pretty Store silicone mat item #34555

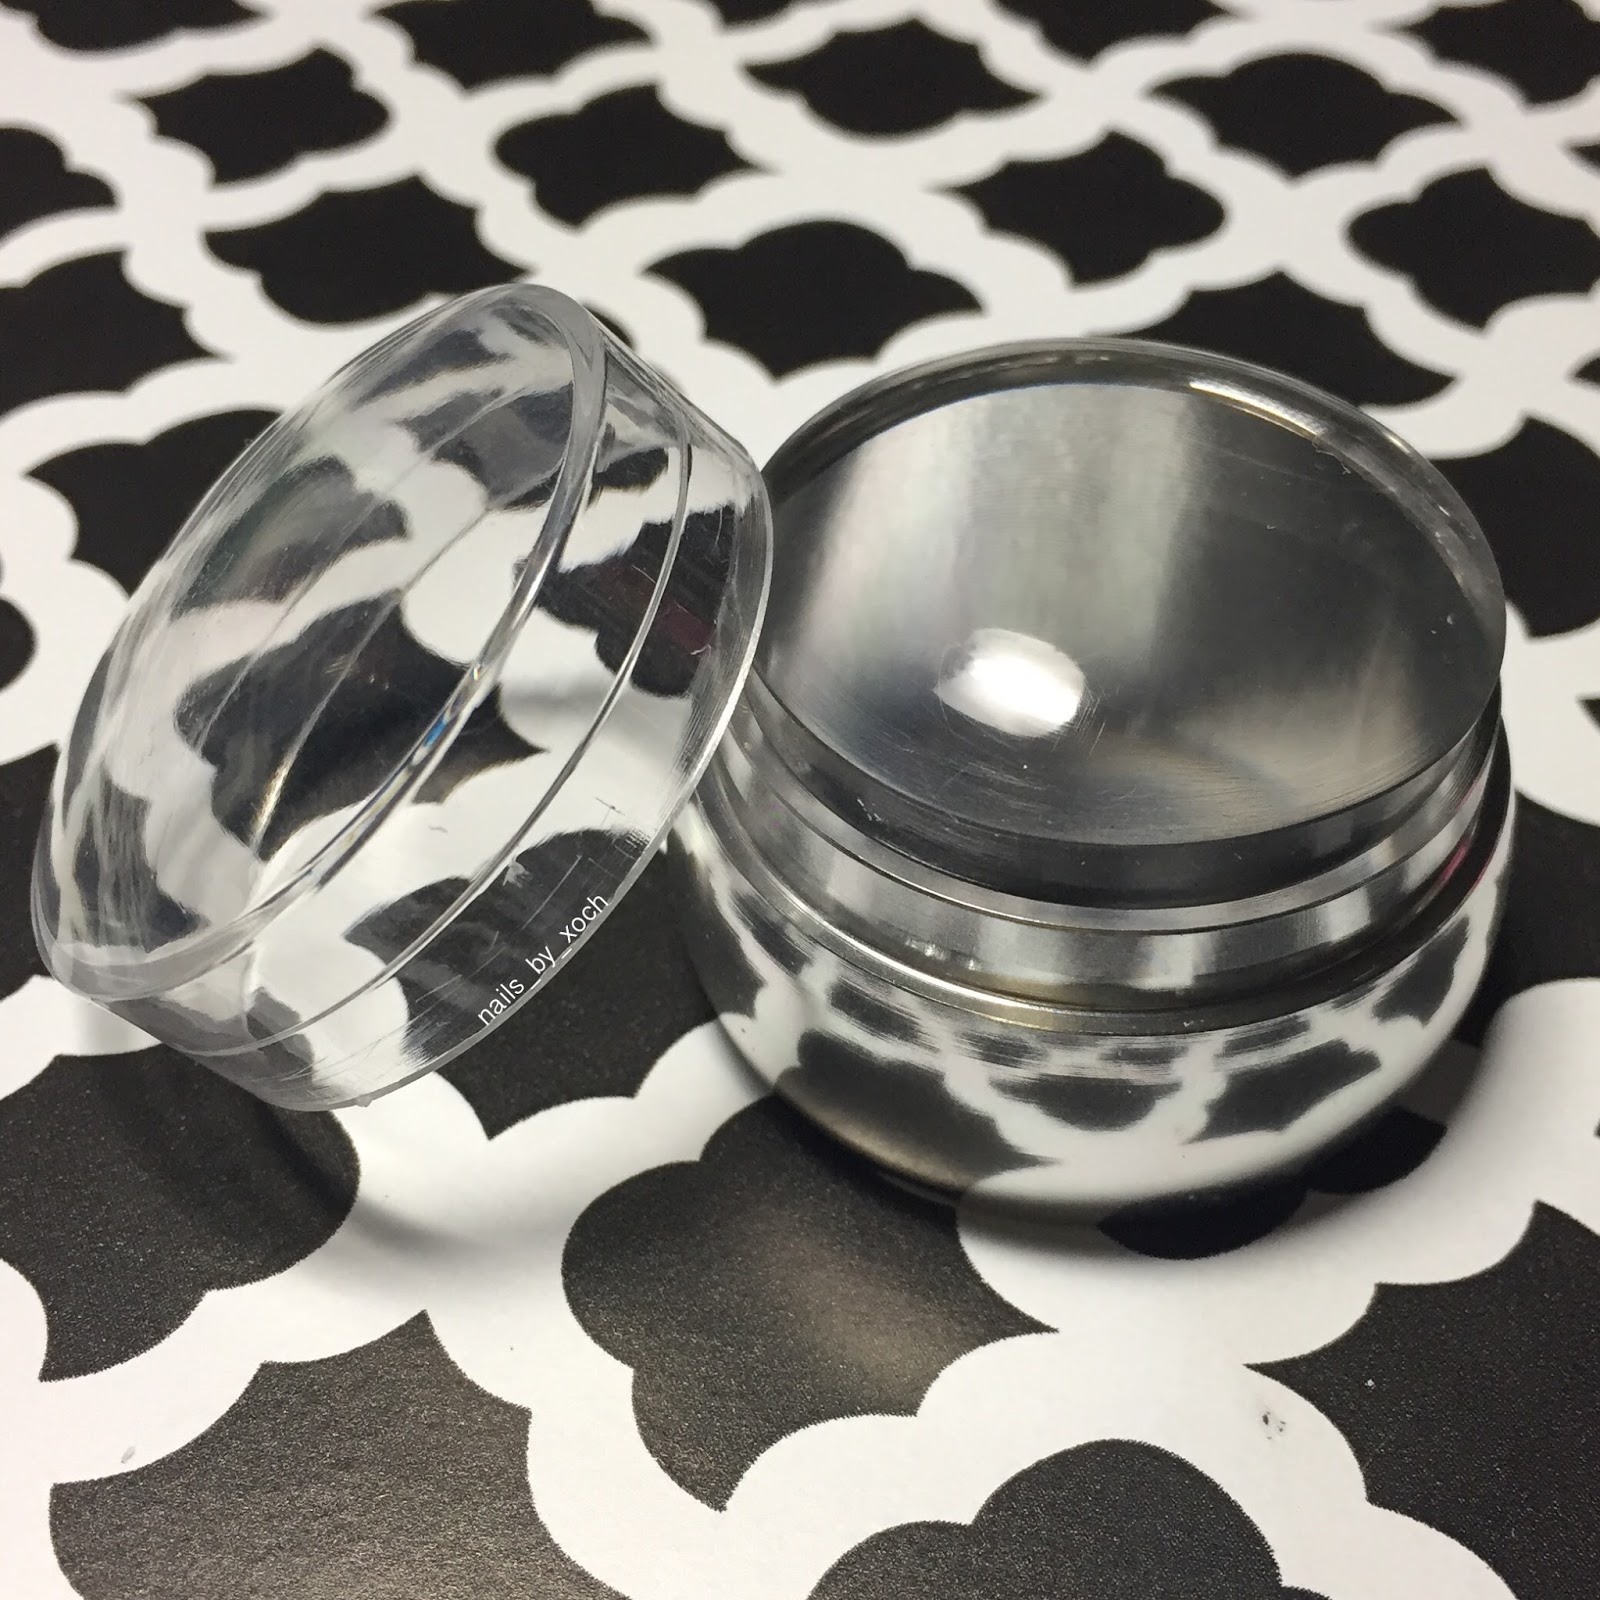
Born Pretty Store metal clear stamper item #37901


Silicone Mat, item #34555 is on sale for $5.99, regular price is $10.99.
Metal clear stamper, item #37901 is on sale for @2.99, regular price is $4.70.

Lets talk about the mat! I love the size of it. It is not too big so it does not take up a lot of space. I have a small nail area so this works perfect for my table. It does come in a tube to keep it protected. Once you open it, it is wrapped in plastic, so you will have to remove it from the plastic before use. 
The mat is silicone, therefore the bottom part of the mat feels like a squishy stamper. Like if you rum your fingers through a squishy stamper… like that. So that means that it will stay in place and not move around your table. But the top of the mat is nice and smooth.

You have your nail boxes on the sides of the mat for you to do swatches, nail decals, or you can also use them as palettes for when you’re doing detailing. 

I used pure acetone to clean it up and there was no damage at all. One of my favorite things about it is that I am able to peel my decals with ease as compared to how I used to do them… (I used a plastic bag to make my decals and it was so much harder to peel them off of it). 

Born Pretty Store silicone mat item #34555

Born Pretty Store silicone mat item #34555

Born Pretty Store silicone mat item #34555


Now, lets talk about the metal clear stamper. It is a short one, so there is not a lot to grab from. But, I think it is perfect because I don’t have to roll the stamper over the design on the plate. I just press it down and it picks up! With all my other stampers, I have to roll over the design, sometimes not picking up all of the design. SO as some of you know, it can be a little frustrating. But I think those days are over for me with this new stamper! Forgot to mention, it does come with a top to protect the stamper. To keep your stamper from getting ruined, I highly suggest to use a lint roller to clean it with instead of using acetone. 


So, what do I think of these two products? I am loving it. If you have any questions about these two items, please ask and I will do my best to answer your questions.

I made a video of these two items, if you would like to check it out, please follow the link to my Instagram account:
https://www.instagram.com/p/BPL7fhaDMh7/?taken-by=nails_by_xoch&hl=en


Use code XVSW10 to save 10% off your Born Pretty Purchase!

Here is the link to Born Pretty:

Here is the link to the mat I have:

Here is the link to the metal stamper:

Here is the link to Born Pretty’s IG:


Friday, June 6, 2014

Sincerely Polish-Villainous Vixens


Dun dun dun!!! Prepare for some evil swatching! LOL...

Hi Ladies!

Today I'll be swatching and reviewing Karen's recent collection, Villainous Vixens. This collection is based on the villain ladies of Disney's fairy tales! They are: Unforgiving Ursula, Cruel Ella De Vil, Malicious Maleficent and Revengeful Red Queen. Scared yet?

I love how Karen was able to capture the colors of each of these evil ladies. The colors are exquisite, and the added glitter makes it perfect.

Unforgiving Ursula, Revengeful Red Queen, Malicious Maleficent
and Cruel Ella De Vil from Sincerely Polish's Villainous Vixen Collection
Lets start off with Cruel Ella De Vil. She is this villain lady from 101 Dalmatians who kidnaps dalmatian puppies for their fur. The colors on the polish are spot on, no pun intended... This is a white jelly that includes red micro holographic glitters, red holo hexes, black dots and black hearts. I love the combination of this polish because it not only reminds me of Cruella, but also of the dalmatians. Formula for this polish is great. Not a lot of fishing done, specially with the black hearts. I used 3 coats to make it opaque and sealed it with top coat.

Cruel Ella De Vil from Sincerely Polish of the Villainous Vixens Collection

Macro shot of Cruel Ella De Vil from Sincerely Polish of the Villainous Vixens Collection

Cruel Ella De Vil from Sincerely Polish of the Villainous Vixens Collection

Up next we have Unforgiving Ursula. I really love this polish! It's so sparkly!!!!! and gorgeous!! Inspired by The Little Mermaid, Ursula is an evil sea witch who tries to "help" Ariel achieve her goals. The colors on this polish truly defines Ursula. Unforgiving Ursula is a lavender crelly filled with holo dust, spectra-flair, black hexes, holographic purple hexes, purple and black hearts. Application as always was great. I did a little bit of fishing for the purple hexes and some hearts. But other than that I had fun with this polish. I used 3 coats with top coat.

Unforgiving Ursula from Sincerely Polish of the Villainous Vixens Collection
Starfish charm is from Charmingly Simple nail Art

Unforgiving Ursula from Sincerely Polish of the Villainous Vixens Collection
This is a direct sun shot.
Starfish charm is from Charmingly Simple nail Art

Macro of Unforgiving Ursula from Sincerely Polish of the Villainous Vixens
 Collection

Unforgiving Ursula from Sincerely Polish of the Villainous Vixens Collection
Starfish charm is from Charmingly Simple Nail Art

Unforgiving Ursula from Sincerely Polish of the Villainous Vixens Collection
Better quality will be on my IG
The third polish of this collection will be Malicious Maleficent. Malicious Maleficent is an evil fairy with extreme powers from Sleeping Beauty. This is one of my favorites because oh my! It shimmers soo much in the sun! I was like whoa! Malicious Maleficent is a purple jelly bathed in holographic purple and silver micro glitters with black hearts. This color is gorgeous. Application was easy peacy. Not so much fishing the hearts. I just love this color under the sun! I used 3 coats with top coat.


Malicious Maleficent from Sincerely Polish of the Villainous Vixens Collection

Malicious Maleficent from Sincerely Polish of the Villainous Vixens Collection

Macro of Malicious Maleficent from Sincerely Polish of the Villainous Vixens Collection

Malicious Maleficent from Sincerely Polish of the Villainous Vixens Collection
Blurred to show how much it sparkles.

Malicious Maleficent from Sincerely Polish of the Villainous Vixens Collection

Video of Malicious Maleficent from Sincerely Polish of the Villainous Vixens Collection
Better quality on my IG
                                                     
Video of Malicious Maleficent from Sincerely Polish of the Villainous Vixens Collection
Better quality on my IG
Last of the villain would be Revengeful Red Queen. Based on Alice in Wonderland, this Red Queen is the queen of hearts who has harsh rules and for anyone who oppose of her rules she would execute. This polish is a deep red jelly filled with micro red holo glitters, gold glitters, black dots, red hearts and black hearts. I love this color and that is why I left it to swatch last, because I didn't just paint my Cinderella hand, but both. I used 3 coats to make this opaque and get the look I desired. The formula is great and not a lot of fishing is required. I love the look of this color with my skin.

Revengeful Red Queen from Sincerely Polish of the Villainous Vixens Collection
Crown charm is from Charmingly Simple Nail Art

Revengeful Red Queen from Sincerely Polish of the Villainous Vixens Collection
This is a sun shot

Macro of Revengeful Red Queen from Sincerely Polish of the Villainous Vixens Collection

Revengeful Red Queen from Sincerely Polish of the Villainous Vixens Collection

Video of Revengeful Red Queen from Sincerely Polish of the
Villainous Vixens Collection
Better quality on my IG
Overall, I love this collection. The colors are perfect for each villain. I love how they look with my skin color. The holo on some of them is just to die for. If you still haven't gotten your collection, you are missing out. These are sold in full size and mini, as a set or individual. Karen did an amazing job with this collection and that's why I was so anxious to purchase these polishes. I loved them in pictures, but I love them even more in person!

Both the Starfish and Crown charms were purchased from Charmingly Simple Nail art. I will link the website down below for these two amazing ladies. Thank you for reading and I hope that you found this helpful! 

Sincerely Polish store--->Online Shop
Sincerely Polish IG----->Instagram

Charmingly Simple Nail Art store-->Online Shop
Charmingly Simple Nail Ar IG----->Instagram

If the videos are not yet posted on my IG, Please allow a day or two. Thanks!


Friday, May 23, 2014

Sharpie Neon Design


So the other day I bought these really cool neon sharpies! I don't really use sharpies that much, but I thought these were cool for some nail art! I got these at K-Mart.


They come in a pack of 4 which brings neon green, pink, orange and yellow. The colors are great! They are also fine point markers so that's a plus!

Now, I decided to create a design on my nails. The ideas were endless which made it more difficult for me to choose one... So I came up with this:


I love how the colors pop with the white. I've prepared a little tutorial on how to do these so here it is:

You will need a white base, or maybe even black. I used Snow Me White by Sinful Colors Professional. I applied two coats and sealed it with my HK Girl top coat by Glisten And Glow.

After your top coat is dry, start creating the designs. You can start with any color you like. I started with the neon yellow, followed by the pink, green and finally orange.


After I was done with my designs, which I decided to do on my ring, middle and pointer fingers, I added tiny dots on my pinky and thumb using all colors. 

Now, once you're done doing designs on your nails, the next logical step would be to seal it with your favorite top coat. But, since we are using sharpies, using a top coat will melt the color and it will make it look faded. Trust me, I tried! Lol

Here's a picture to show you the difference between top coat vs no top coat. Wonder if you can tell which one is which!
See?

Now time for a video tutorial! 


I hope you guys like this look. I'm not in love with it, but it still looks cool under the black light! Maybe I'll try doing a different design sometime. :-) 

Thanks for stopping by and don't forget I have a giveaway going on which ends tomorrow Saturday 24th at 5pm EST.