
So I came across 4 pretty polishes on a run to Five Below. For those of you that don't know, Five Below is a cool store that sells a lot of cool things that cost $5.00 and under! They have from cosmetics, to cell phone cases and more. From what I have heard, there are not that many locations spread out through the states. I know there's a lot in Virginia, since that's where I first came across one. Now I'm in PA and I'm glad I'm able to find them here because they have cool polishes for great prices!
These polishes are called Funky Fingers! They usually sell them for 3 for $5.00. I think that's a great deal! They also sell a brand called Fresh Paint for the same price.
If you're lucky like me, you'll find Funky Fingers for $1.00!! each that is! I bought 5! They only had 4 colors, but I ended up getting an extra for my sister. I'm only reviewing 3 because i added one to my previous giveaway.
 |
| Funky Finger Nail Polish |
Any way, the names for these are (from left to right) Berried Treasure, Mint Choco-Chip and Fro Yo!. I love the name of the purple one! lol.
 |
| Funky Finger Nail Polish |
I started off with the pink one, Berried Treasure. I have to say, this is my favorite from these 3. I did two coats and I was happy with how it looked! Like I said, no fishing needed for this one. I will have to say that you might do some fishing if your glitter sinks... so if that's the case, give it a good shake from all sides and then leave it upside down for a bit. I love this color pink. It is not bright or too pale. Its just perfect. And I love how it looks with my skin tone.
 |
| Funky Fingers: Berried Treasure |
 |
| Funky Fingers: Berried Treasure |
Up next we have Mint Choco-Chip. This was the least favorite from the 3. The color is pretty, I give it that. I had to use 3 coats on this one because the brush was a little crappy so it was streaking the polish. So to make it all smooth and pretty, 3 coats had to be used.... Same formula as Berried Treasure which is good. I guess there's not much more to say about this one, only that if you find it, open the bottle and make sure the brush looks good... LOL
 |
| Funky Fingers: Mint Choco-Chip |
 |
| Funky Fingers: Mint Choco-Chip |
My second favorite, Fro Yo!. I not only love the color, but how cool is that name!? Makes me want to say it aloud! LOL... I love this pale purple color. I used 2 coats and I love how it looks! Purple is one of my top 3 favorite colors so this is perfect! The brush on this one was great so I didn't have any problems applying this polish. it was smooth and no fishing.
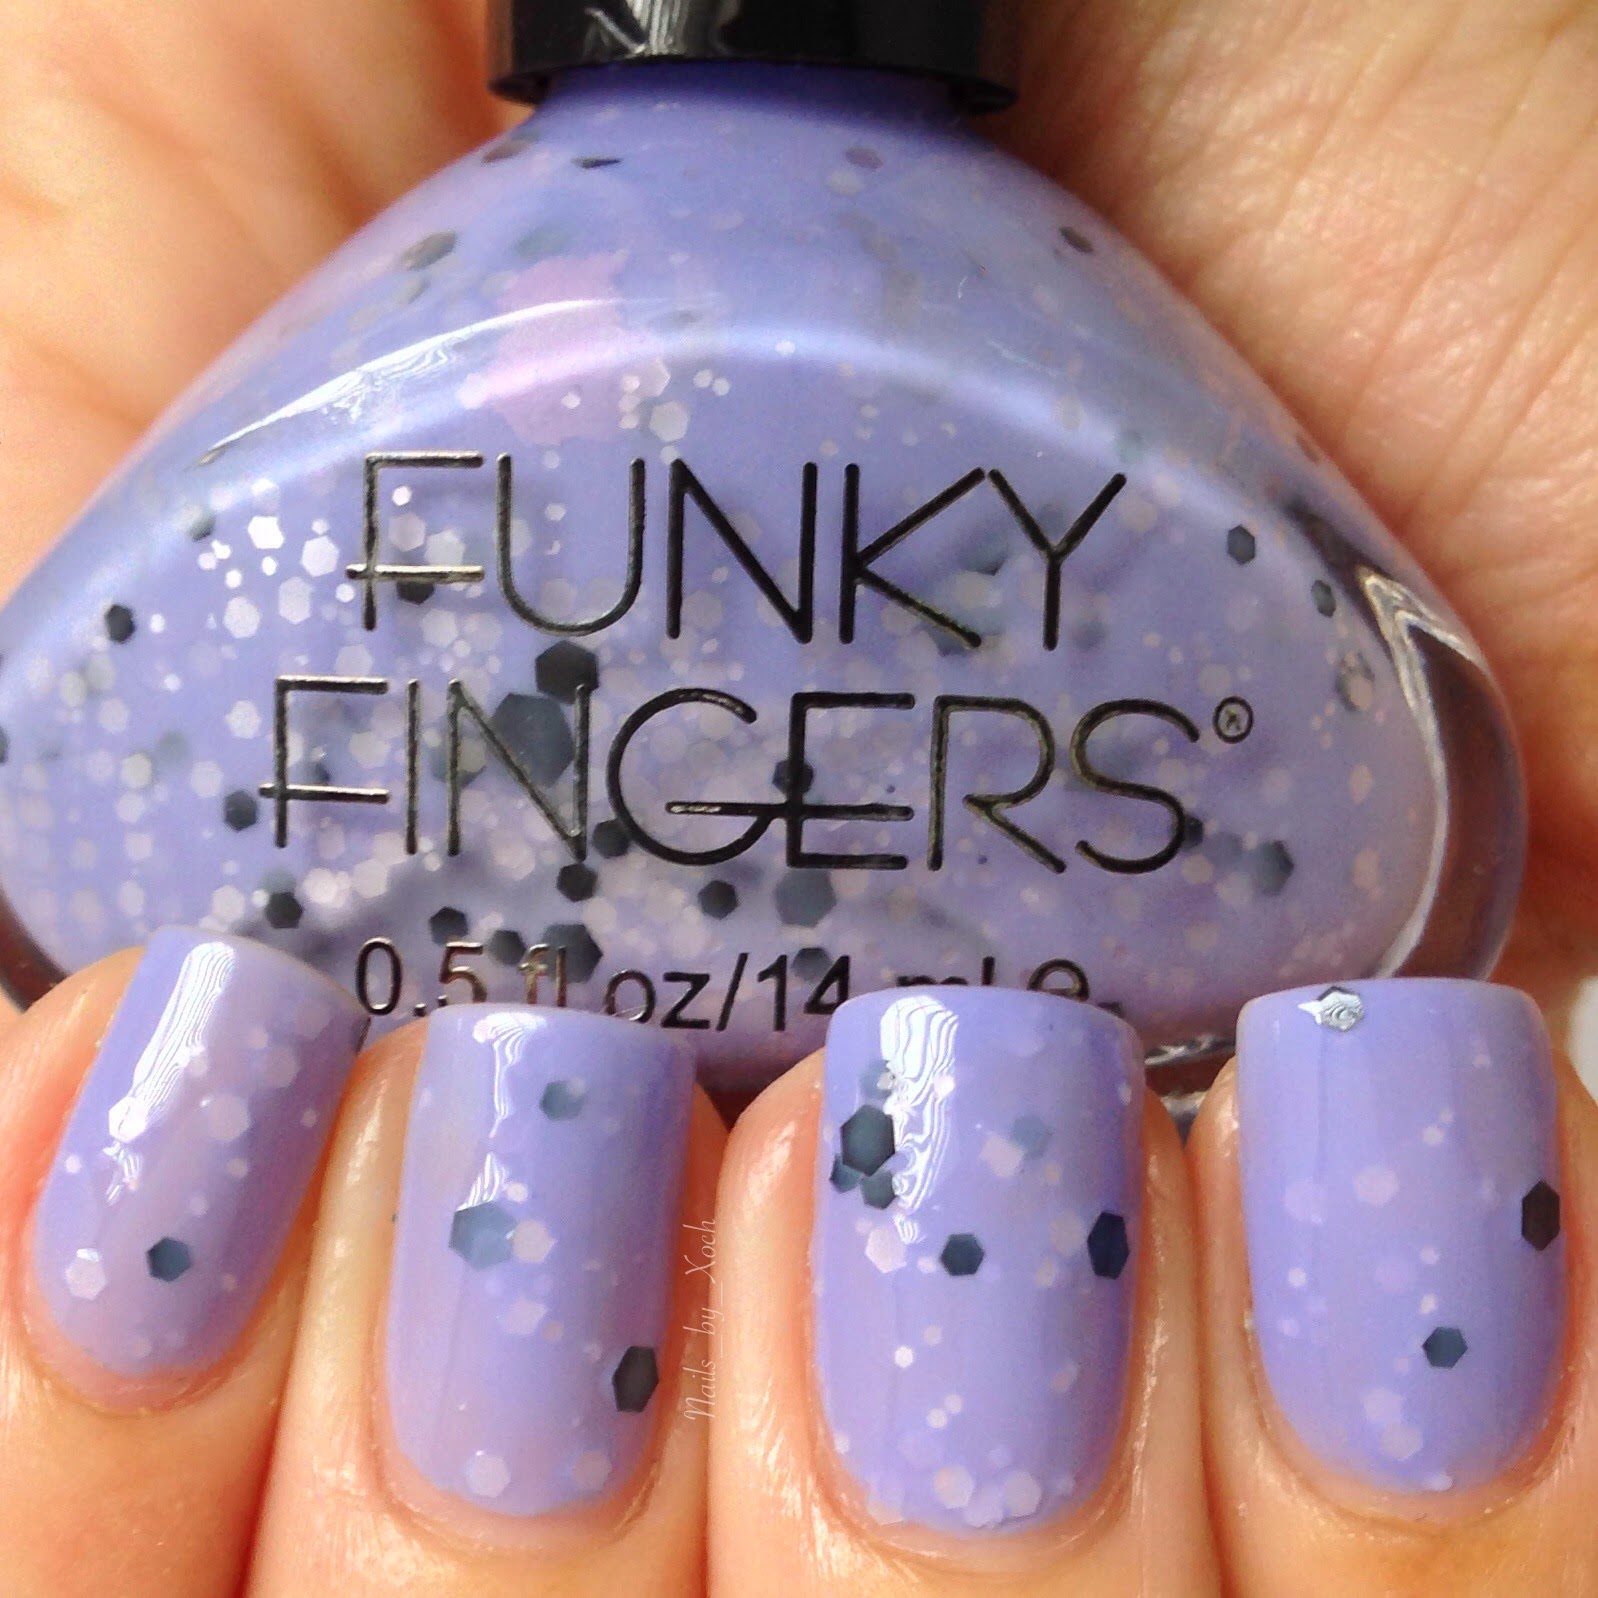 |
| Funky Fingers: Fro Yo! |
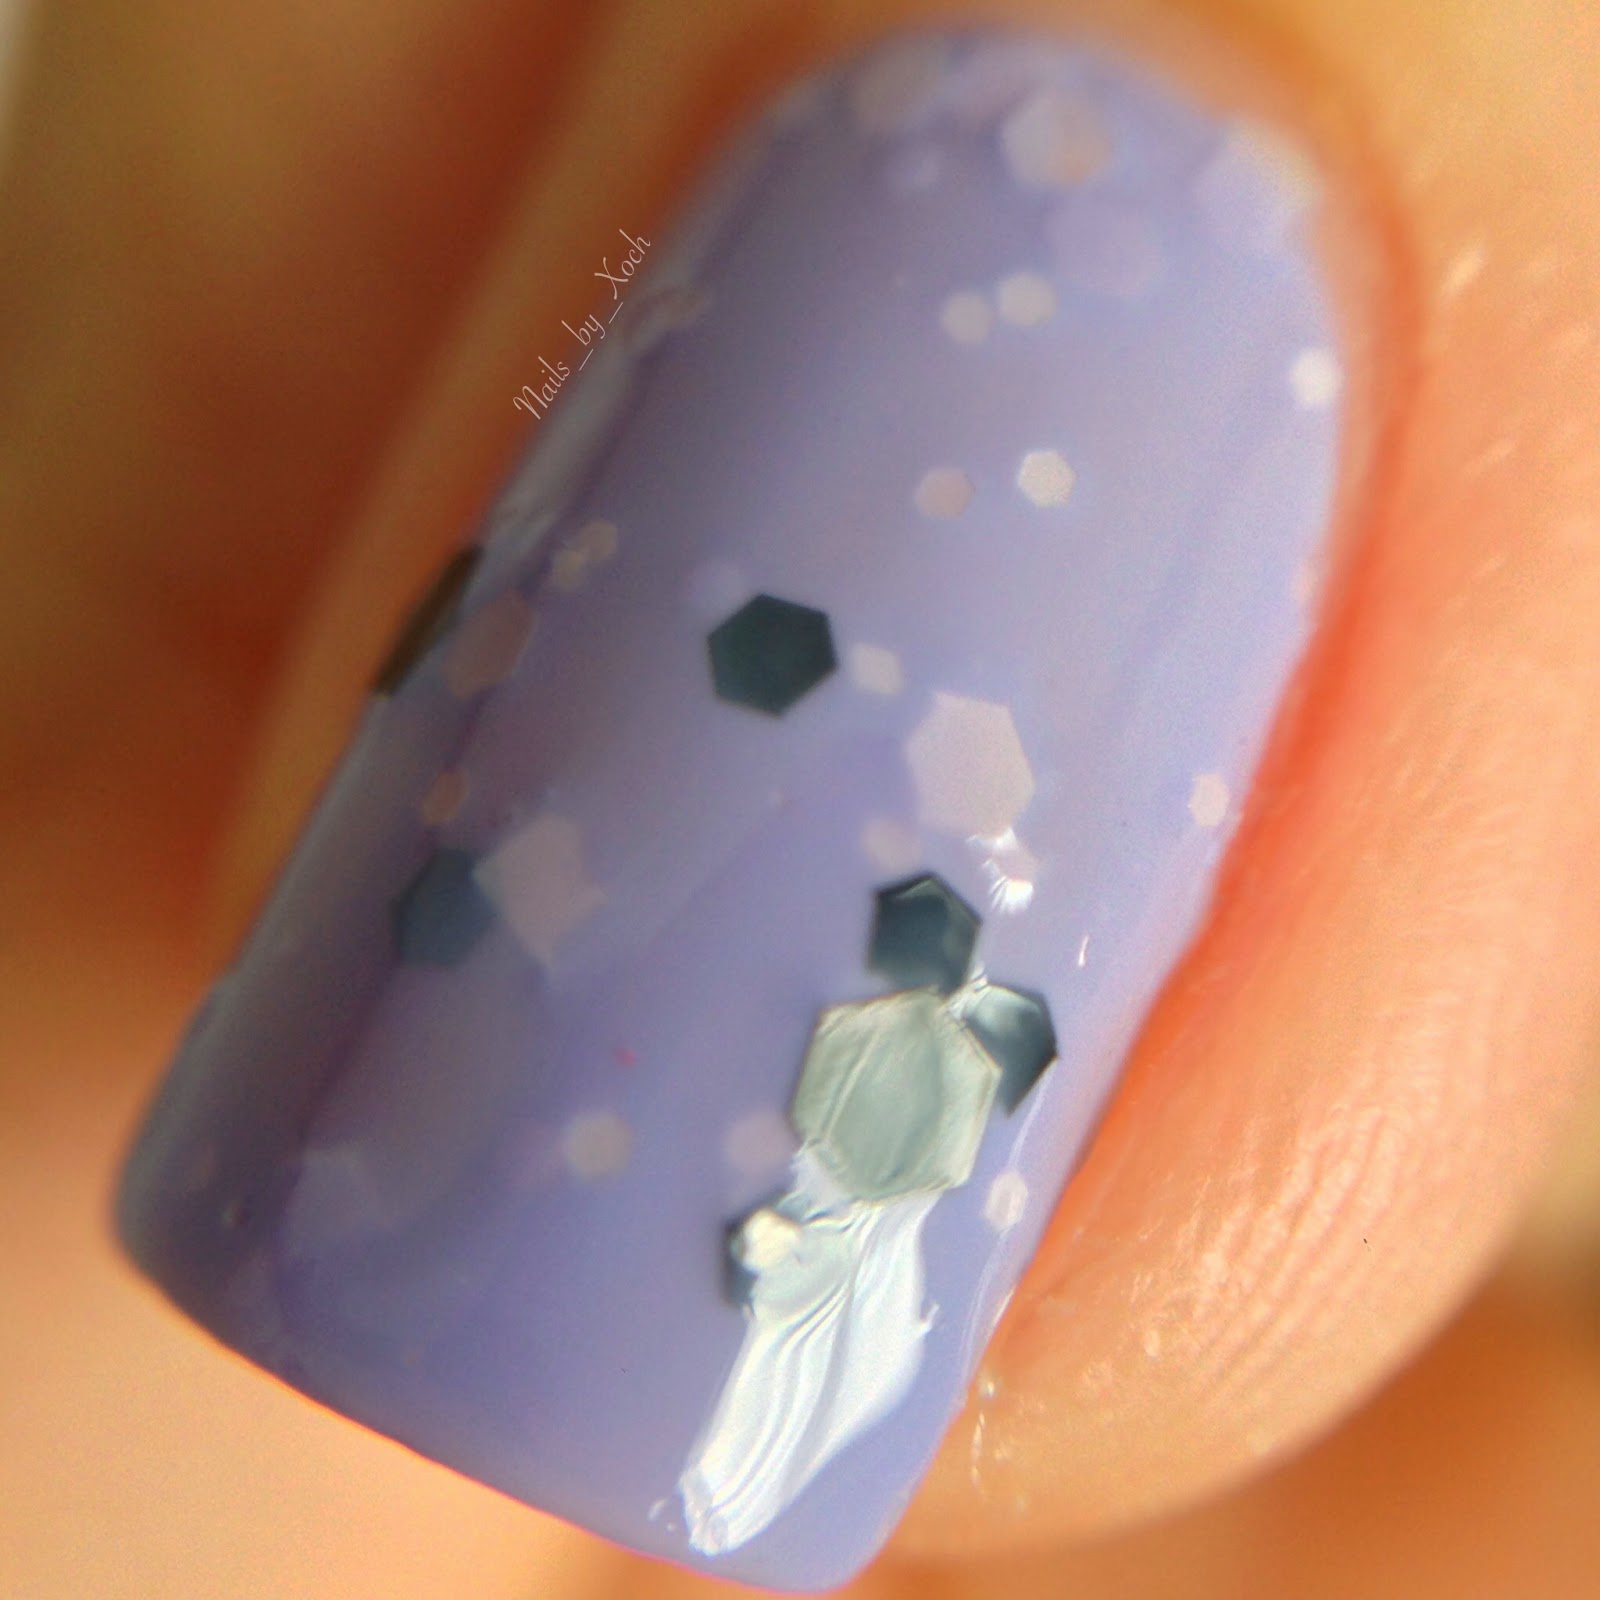 |
| Funky Fingers: Fro Yo! |
Over all, I love these polishes. I love the combination of black and white with these milky colored polishes. They don't sparkle but that's alright with me. When I bought these they were on sale and they looked funky... The polish had separated, but I gave it a rough shake and it looks good now.
Xochilt


